

CUBS Business School
Brief
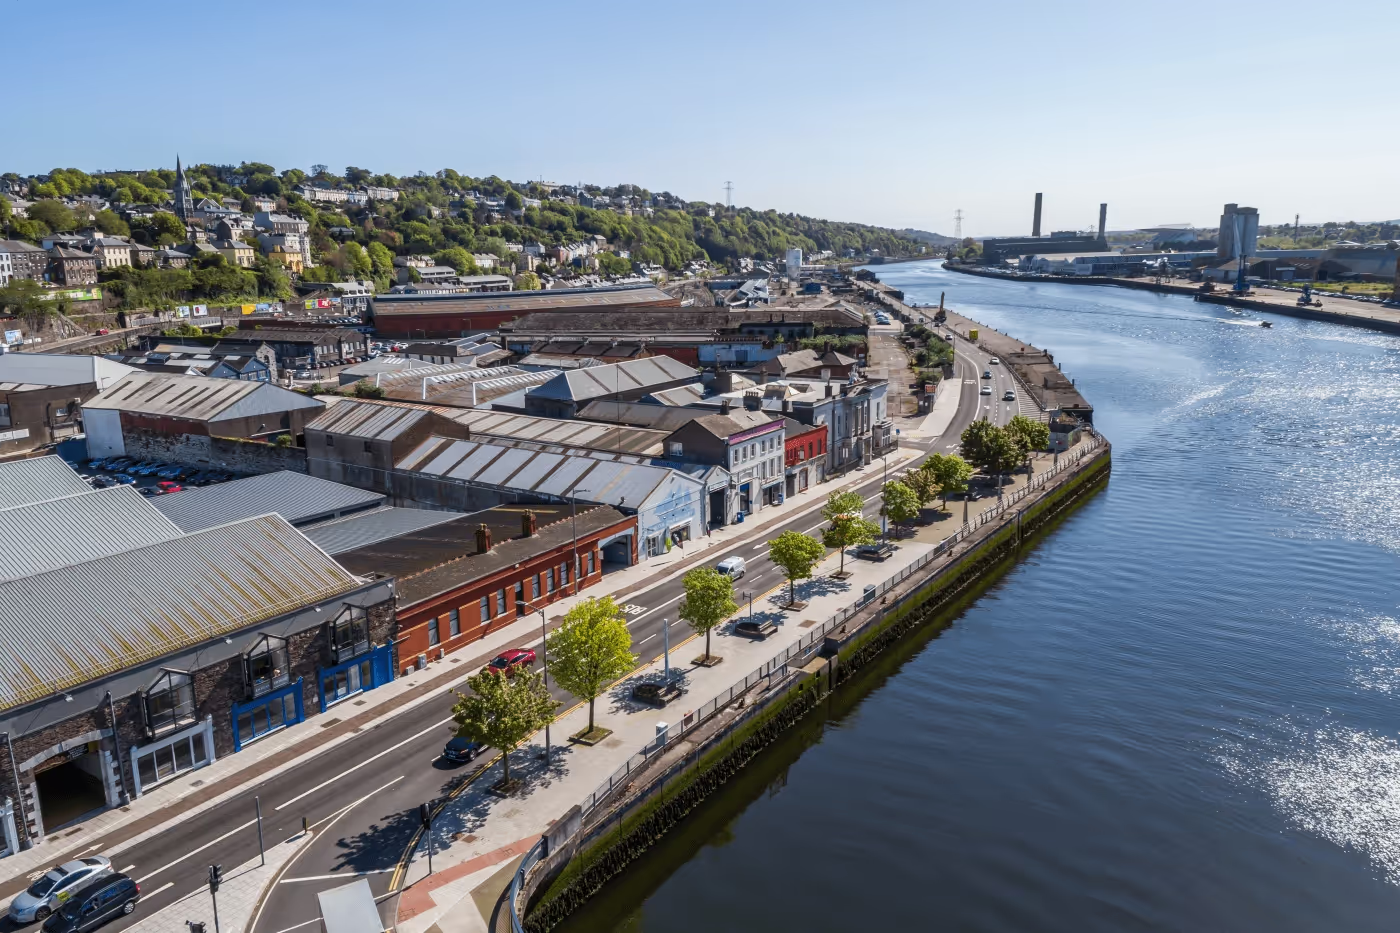
The new UCC Business School represents a landmark in academic architecture, providing a state-of-the-art learning environment in the heart of Cork. Designed by RKD Architects, this modern facility encompasses approximately 15,675 m² across a dynamic multi-storey structure. It integrates advanced sustainable features like rooftop photovoltaic panels, energy-efficient glazing, and green spaces, reinforcing UCC's commitment to sustainability and innovation. The building includes flexible learning spaces, lecture theatres, cafés, and rooftop amenities, tailored to foster collaboration and academic excellence.
To convey these strengths effectively, G-Net 3D’s visualisation services aimed to:
- Showcase the architectural innovation, emphasizing the building's unique design elements, including its multi-story structure and sustainable features.
- Highlight the integration into its urban setting, demonstrating how the business school complements Cork's cityscape
- Capture the student experience, illustrating the vibrant and functional interior spaces, from collaborative study zones to state-of-the-art lecture theatres.
Service Deliverables:
- Verified View Montages (VVMs)
- Computer-Generated Imagery (CGIs)
- Animation
Use the slider to view before & after
Use the slider to view before & after
No items found.
Methodology
1. Verified View Montages (VVMs)
Steps:
Data Collection: Gather architectural plans, elevation drawings, and Revit models of the development. Establish viewpoint locations for onsite photography.
Onsite Photography:
- Capture high-resolution images of the development site using calibrated DSLR cameras.
- Employ GPS and survey equipment to record precise camera locations and lens details.
3D Model:
- Create a detailed and accurate 3D model using the architectural plans and drawings
- Position the 3D model within the context of the photographic data.
- Ensure geometric accuracy through surveyed reference points and overlays.
Rendering and Composition:
- Render the 3D model with lighting and materials that match the site’s real-world conditions.
- Combine rendered views with the base photograph, ensuring seamless integration.
Verification and Presentation:
- Collaborate with planning consultants to verify the montage's accuracy.
- Annotate images into a collected booklet with camera positions and technical data for submission to planning authorities.
2. Computer-Generated Imagery (CGIs)
Steps:
1. Concept Understanding:
- Review architectural designs, mood boards, and material specifications.
- Conduct meetings with architects and developers to grasp the project's vision and select the desired viewpoints for exteriors and interiors.
2. 3D Modelling:
- Use 3D software such as Autodesk 3ds Max to create detailed models.
- Focus on accurately replicating dimensions, materials, and textures.
3. Material and Texture Mapping:
- Apply high-quality textures, materials, and finishes to surfaces.
4. Lighting Setup:
- Simulate natural and artificial lighting conditions using HDRI maps and light sources.
- Optimize lighting for the time of day that best represents the project’s mood.
5. Rendering:
- Use rendering engines like V-Ray, Corona, or Lumen to produce high-resolution images.
- Incorporate post-processing using Adobe Photoshop for colour grading and final adjustments.
6. Stakeholder Reviews:
- Present drafts for feedback and refine based on client requirements
- Final render and deliver as full high resolution CGIs

(Click image above to browse Gallery)
3. Animation
Steps:
1. Storyboard Development:
- Develop a narrative script that aligns with the project’s marketing and communication goals.
- Define camera paths and focus areas for the animation with the clients.
2. 3D Model Optimization:
- Prepare a version of the 3D model optimized for animation.
3. Camera and Scene Setup:
- Develop camera paths using cinematic techniques such as panning, dolly shots, and zooms.
- Set up key frames to control motion and focus dynamically.
4. Dynamic Elements:
- Integrate animated elements like moving people and vehicles
- Add environmental effects like wind-blown foliage or water ripples for realism.
5. Rendering:
- Render the animation sequence using GPU-accelerated engines like Unreal Engine or V-Ray.
6. Post-Production:
- Edit using software like Adobe After Effects
- Include voiceovers, sound effects and music to elevate the narrative.
7. Final Delivery:
- Deliver in multiple formats over Vimeo platform.


